
Test a fixture profile on the real fixture
A fixture profile tells the visualizer which DMX value shows which gobo, color and prism. With the fixture test you check once on the real fixture that it's right. The Designer writes a test sequence to SoundSwitch, you tap pad by pad and say “Correct” or “Wrong” for each step.
Step by step
- Click “Test on the real fixture”. If you have several moving head models, pick the fixture first.
- Step “Prepare”: you see what gets tested (colors, gobos, rotation, prisms, strobe, zoom, movement). Click “Write test sequence to the copy”.
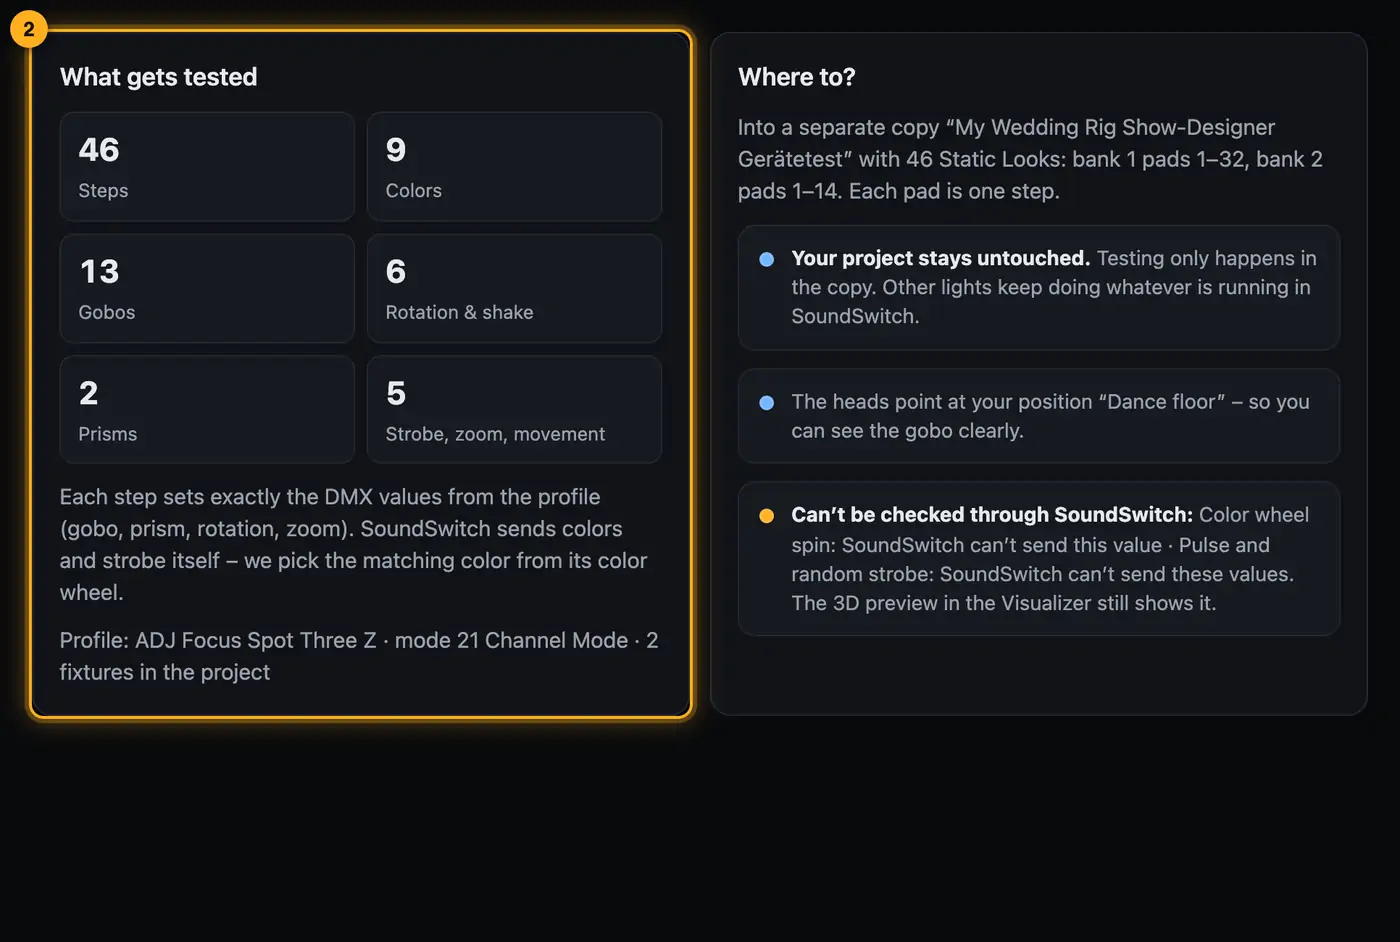
This shows what gets tested. - The Designer creates a separate copy “<project> Gerätetest” and writes one Static Look per step into it: pad T01, T02 … in bank 1, from step 33 on in bank 2. Your project stays untouched.
- Open the copy in SoundSwitch (File → Open Project). If it's already open, briefly open another project and then the copy again.
- Go to the Static Looks, bank 1, and tap pad T01. Look at the real fixture.
- In the Designer, the 3D preview shows how it should look according to the profile. Click “Correct” or “Wrong”. For “Wrong”, pick what you see instead and describe it briefly if you like.
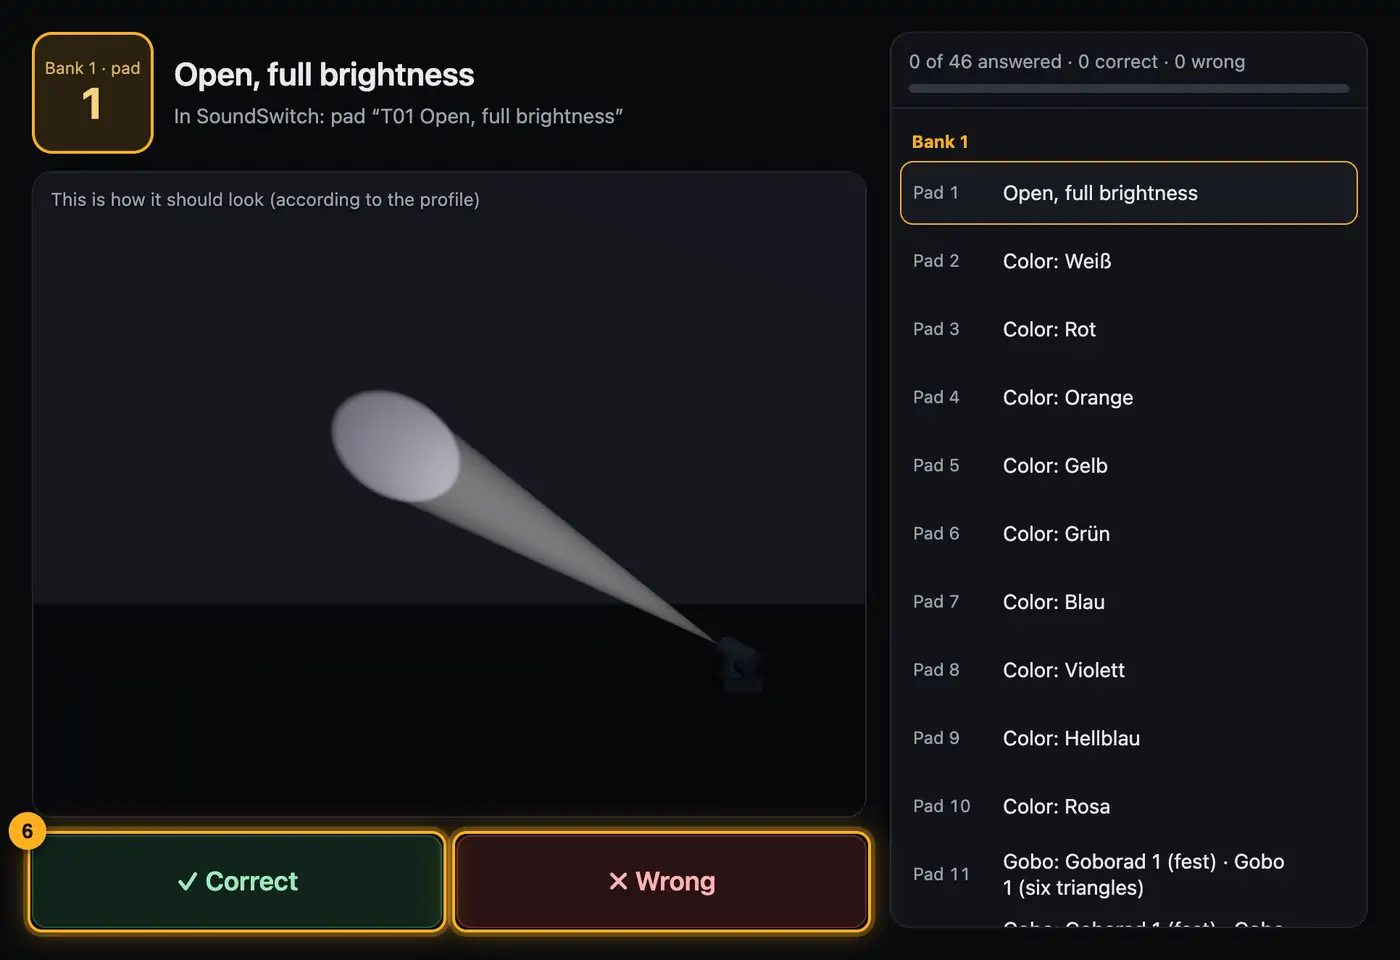
Compare the preview with the real fixture. - Go on with T02 and so on. You set the pace and can skip steps.
- At the end: “View result” → “Send result”.
More from “Fixture profiles & rig”
- How Droplit recognizes your lightsDroplit reads your SoundSwitch project and builds your rig from it: which fixtures there are, what they can do, which groups they belong to and in which order they stand. You don't have to create anything by hand.Summary
- Roles: what a fixture does in showsThe role decides what a fixture does in your shows. The designer assigns it when it recognizes your rig, and if it got something wrong, you change it with a few clicks.Summary
- Roles & order: check groups and rolesIn the “Roles & order” window you check and change what the designer recognized from your patch: groups, order, roles, moving heads, positions and gobo mapping.Summary
- Taking over your rig in another projectA checked rig doesn't only apply to copies with exactly the same patch. If you open a project where your fixtures are patched a little differently, the designer takes over groups, roles and order from the most similar rig you have already checked.Summary
- Hiding fixtures you don't bringNot every fixture in your patch comes to every gig. If you hide it, it disappears from the 3D view and the floor plan, and in “Fixtures & stage” the shows leave it out too.Summary