
Tipping fixtures, mounting them sideways and checking with the test beam
Real fixtures rarely hang perfectly straight. Pars point at the dance floor at an angle, moving heads sit sideways on a truss leg. In the setup you set a free angle for every fixture. The test beam shows you right away where it shines.
Step by step
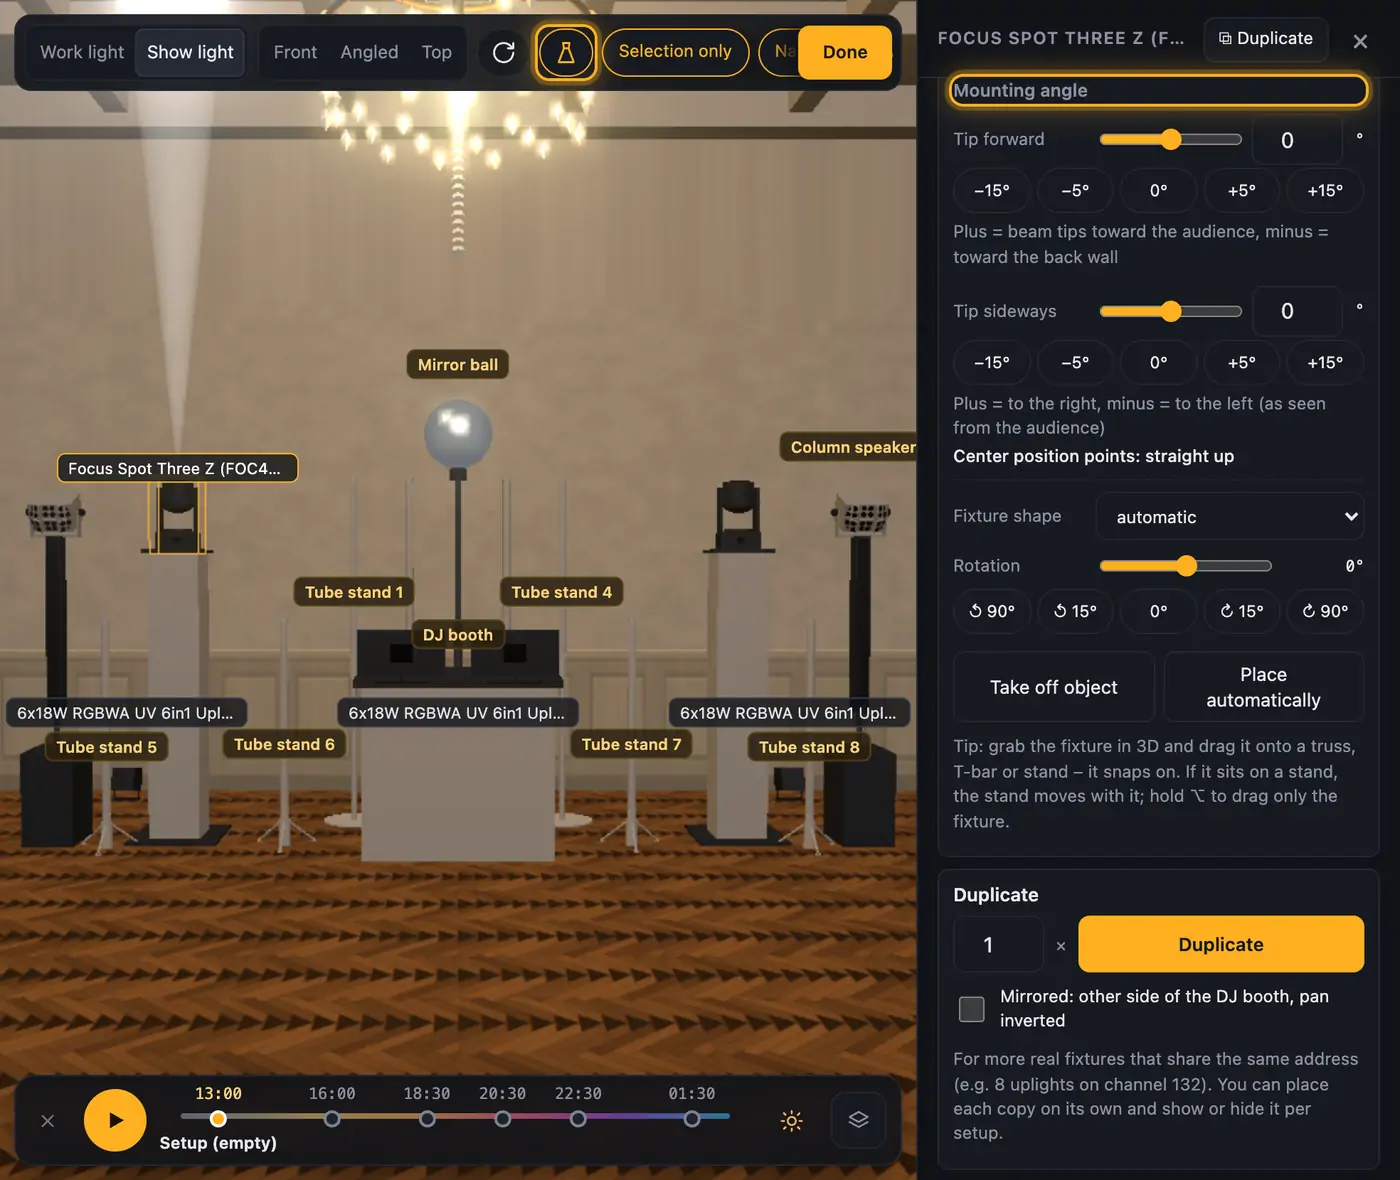
- Click “Test beam” in the bar at the top. All visible fixtures shine white. Moving heads sit in their center position or point at their target from Aiming moving heads.
- To see only some fixtures, click “Selection only” next to it. Now only the selected fixtures light up, all others stay dark. Add more with ⌘ / Ctrl + click, or select a range in the fixture list with ⇧. Click “Selection only” again to light up all fixtures.
- Click a fixture. Under “Mounting angle” you set two angles:
- “Tip forward”: plus tips the beam toward the audience, minus toward the back wall.
- “Tip sideways”: plus tips to the right, minus to the left (as seen from the audience).
- Drag the slider, type the value or change it with the “−15°” … “+15°” buttons. “0°” sets the fixture straight again.
- For moving heads, pick “standing”, “hanging” or “sideways” under “Mount”. Sideways means: the yoke sits on a vertical surface, the head is tipped by 90° and faces the direction you set under “Rotation”. When mounted sideways, “Tip forward” tips down (plus) or up (minus). “Tip sideways” turns the fixture around the direction it faces.
- Below the sliders you read in plain words where the fixture points, e.g. “Beam points: 35° down, toward the audience, hits the floor after 4.2 m”. For moving heads this is the center position.
- You can also do it right in 3D with the “Rotate handle”. On a fixture the handle has three rings: rotate, tip forward and tip sideways.
More from “Fixtures, stage & 3D”
- The workbench: setting up the visualizer with the toolbar on the leftThe visualizer has a new layout: instead of one long sidebar and lots of buttons at the top, there is a toolbar on the left with seven areas. Only one area is open at a time, and the 3D view stays large next to it. At the top you see which location and which setup are loaded, and the search gets you to any function in two seconds.Summary
- Opening and using the 3D visualizerThe 3D visualizer shows your lights on a virtual stage. You see what SoundSwitch or Droplit is sending to your fixtures right now, and you can rebuild your real setup.Summary
- Fixtures & stage in Droplit“Fixtures & stage” is the full 3D visualizer right inside Droplit. This is where you set up your stage and hide fixtures that your shows shouldn't use.Summary
- Choosing the source: SoundSwitch, Designer or test patternAt the top right of the 3D view you choose where the light values come from. You either watch live what SoundSwitch sends to your fixtures, or the preview from Droplit.Summary
- Fixture details and DMX monitorClick a fixture to see its address, its mode and all channel values live. The DMX monitor adds all 512 channels of a universe at a glance.Summary