
Fine-tune a location: size, ceiling, materials, windows, lights
A template is just the start. When fine-tuning, you set size, ceiling shape, materials, colors, windows, columns and decor so the location matches your real hall. You see every change right away in the 3D view.
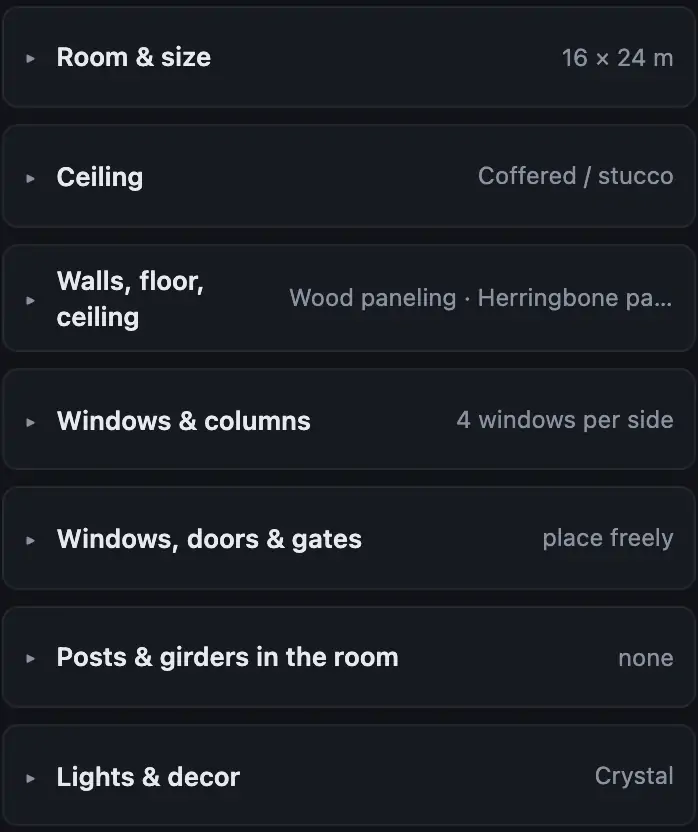
Step by step
- First choose a location, see Locations.
- Expand “Room & size”. Under “Walls”, choose “all around”, “back wall only” or “Open air”. Set the size with “Width” (4–40 m), “Depth” (4–60 m) and “Wall height” (1.6–14 m).
- If you only know the guest count, enter it under “Guests” and click “Estimate size”. The visualizer allows space for banquet, dance floor and bar.
- Under “Ceiling”, choose the “Shape”: “Flat”, “Wooden beams”, “Steel girders”, “Coffered / stucco”, “Open roof truss”, “Tent roof”, “Vault” or “Glass roof”. For roof truss, tent roof and glass roof you set the “Ridge height”, for the vault the “Vault rise”. Both count above the wall height. Below that, pick the ceiling “Material”.
- Under “Walls, floor, ceiling”, choose a material for each surface and a color below it. “Default” is the material's typical color, the last field opens a custom color. “Wood, beams, frames” colors beams, paneling and window frames.
- Under “Windows & columns”, choose the kind of “Windows”, their “Count” per side and the “Sides”: “left + right”, “left”, “right” or “+ front”. For “Columns”, choose “Columns”, “Pilasters”, “Wooden posts” or “Steel posts” and set “Per side”. “Outside” sets what you see through the windows: “Night”, “Dusk” or “Day”.
- Under “Lights & decor”, choose “Chandeliers” and their “Count”, “String lights” with their own “Brightness”, “Downlights” and the “Surroundings” outside: “Trees”, “Sea” or “City lights”. Below that you set the “Room light” with brightness and light color.
- Under “Look”, choose how the location looks: “Realistic”, “Architectural model”, “Blueprint”, “Neon lines” or “Endless black”. With “Neon lines”, pick the edge color below.
More from “Fixtures, stage & 3D”
- The workbench: setting up the visualizer with the toolbar on the leftThe visualizer has a new layout: instead of one long sidebar and lots of buttons at the top, there is a toolbar on the left with seven areas. Only one area is open at a time, and the 3D view stays large next to it. At the top you see which location and which setup are loaded, and the search gets you to any function in two seconds.Summary
- Opening and using the 3D visualizerThe 3D visualizer shows your lights on a virtual stage. You see what SoundSwitch or Droplit is sending to your fixtures right now, and you can rebuild your real setup.Summary
- Fixtures & stage in Droplit“Fixtures & stage” is the full 3D visualizer right inside Droplit. This is where you set up your stage and hide fixtures that your shows shouldn't use.Summary
- Choosing the source: SoundSwitch, Designer or test patternAt the top right of the 3D view you choose where the light values come from. You either watch live what SoundSwitch sends to your fixtures, or the preview from Droplit.Summary
- Fixture details and DMX monitorClick a fixture to see its address, its mode and all channel values live. The DMX monitor adds all 512 channels of a universe at a glance.Summary