
Match a photo: your setup in the real hall
With “Match a photo” you take a normal photo of the location, for example from your phone from the guests' view. On it you mark a rectangle on the floor whose size you know. From that, the visualizer works out where the camera stood and lays the photo onto walls, floor and ceiling. In the “Photo view”, your setup then looks as if it was photographed in the real hall.
Step by step
- Take a landscape photo from the guests' view toward the stage or DJ spot, showing plenty of floor.
- Click “Match a photo” and drag the photo onto the area, or click it and pick the photo.
- Four points appear on the photo. Drag them onto the corners of a rectangle on the floor: A back left, B back right (at the stage wall), C front right, D front left.
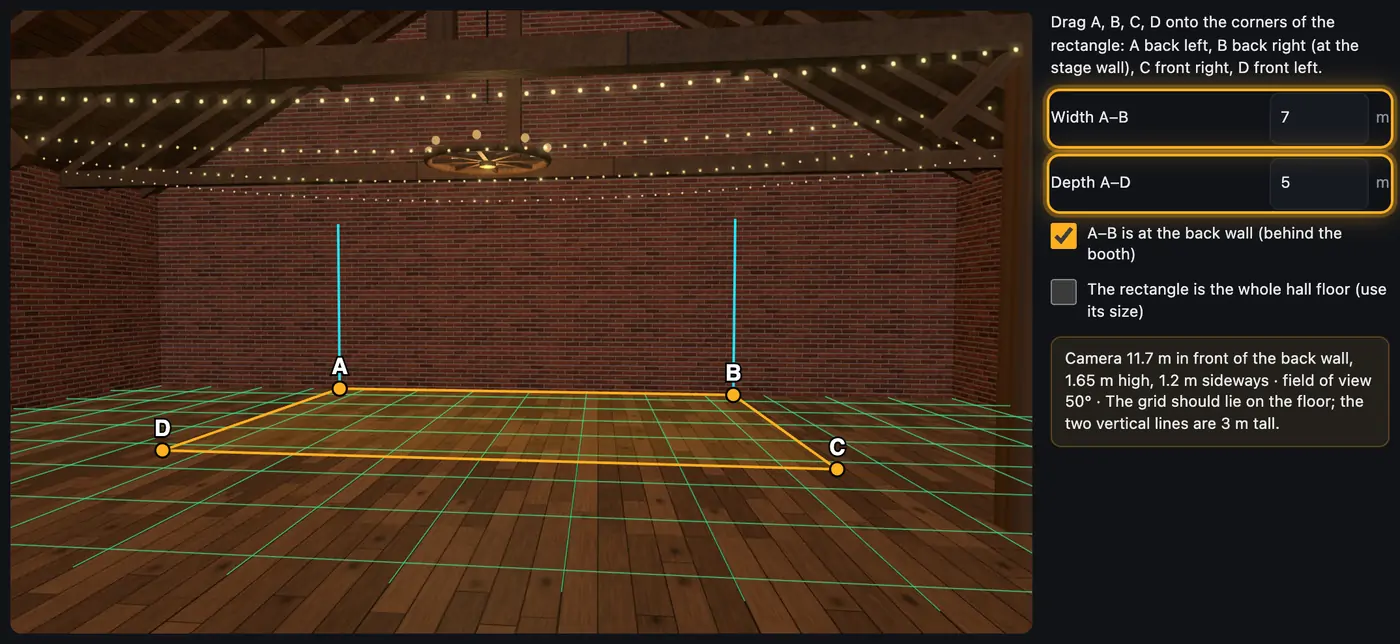
The four points go on a rectangle on the floor. As you drag, the grid settles on the floor. - On the right, enter the real size: “Width A–B” and “Depth A–D” in meters.
- If the line A–B isn't right at the wall behind the booth, untick “A–B is at the back wall (behind the booth)” and enter the “Distance A–B to the back wall”.
- If the rectangle is the whole hall floor, tick “The rectangle is the whole hall floor (use its size)”. The hall then gets exactly this width and depth.
- Check the grid: it should lie flat on the floor, and the two vertical lines at A and B are 3 m tall. Below it you see where the camera stood and its field of view.
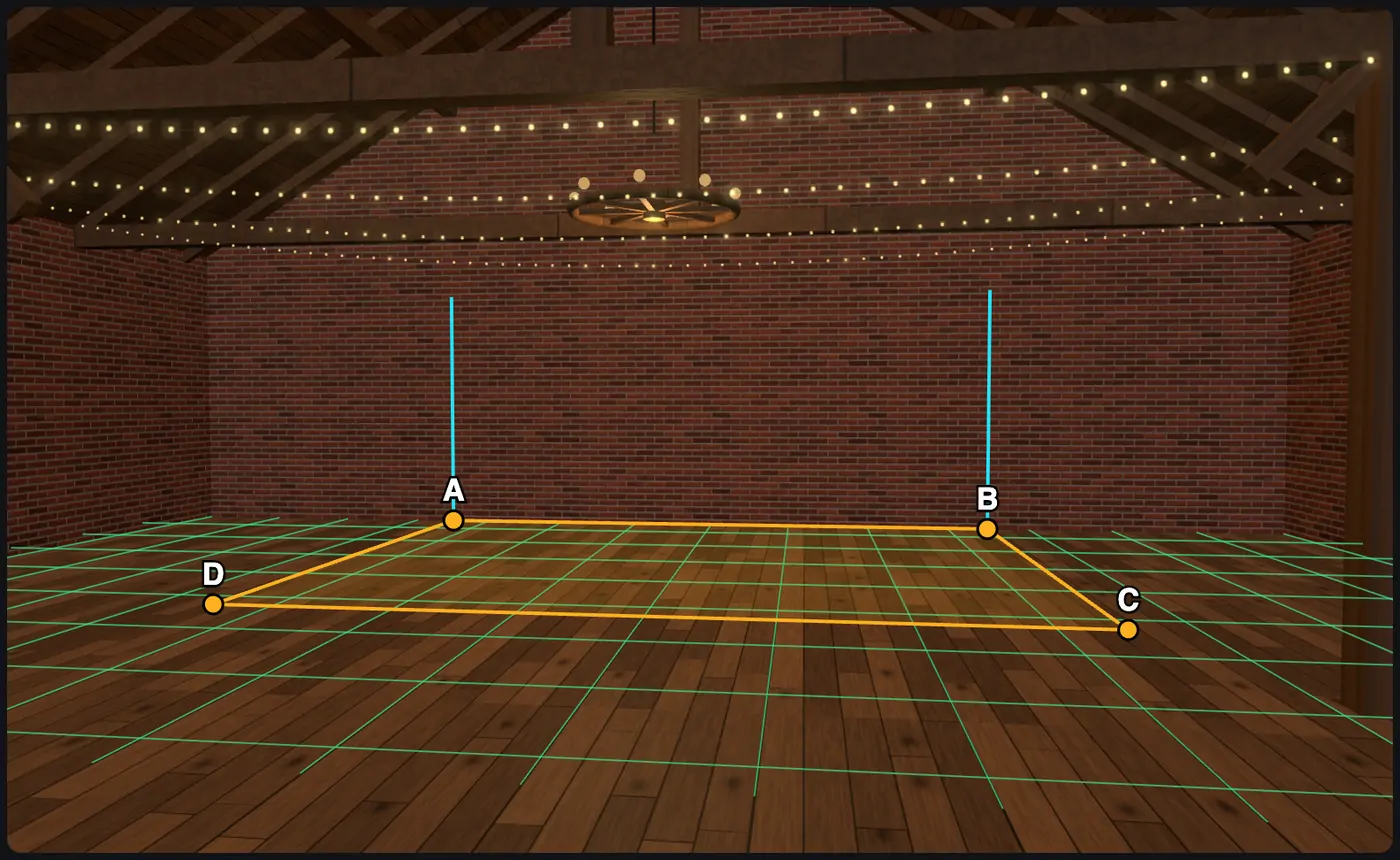
The grid must lie flat on the floor. - Click “Apply”. The 3D view jumps to the photo view.
- If wall edges and ceiling don't line up yet, change width, depth and wall height under “Room & size” until they match the photo.
More from “Fixtures, stage & 3D”
- The workbench: setting up the visualizer with the toolbar on the leftThe visualizer has a new layout: instead of one long sidebar and lots of buttons at the top, there is a toolbar on the left with seven areas. Only one area is open at a time, and the 3D view stays large next to it. At the top you see which location and which setup are loaded, and the search gets you to any function in two seconds.Summary
- Opening and using the 3D visualizerThe 3D visualizer shows your lights on a virtual stage. You see what SoundSwitch or Droplit is sending to your fixtures right now, and you can rebuild your real setup.Summary
- Fixtures & stage in Droplit“Fixtures & stage” is the full 3D visualizer right inside Droplit. This is where you set up your stage and hide fixtures that your shows shouldn't use.Summary
- Choosing the source: SoundSwitch, Designer or test patternAt the top right of the 3D view you choose where the light values come from. You either watch live what SoundSwitch sends to your fixtures, or the preview from Droplit.Summary
- Fixture details and DMX monitorClick a fixture to see its address, its mode and all channel values live. The DMX monitor adds all 512 channels of a universe at a glance.Summary